You’ve probably seen Twitter’s new NFT profile picture feature, which features a hexagonal shape for your profile rather than the standard circle. The feature is meant for those users who’d like to show off their prized possessions by connecting their wallets and verifying ownership of the NFT. While the feature is great for those looking to show off their expensive or highly sought-after NFTs, users can also create a custom NFT if they’re after the hexagonal profile.
This article will explain how to create your own NFT for cheap and set it as a profile picture on Twitter, so you can join the club without spending a fortune.
Note: Since the Twitter Blue NFT profile picture is only available on the iOS app, you will need an iPhone to get your hexagonal profile.
When it comes to the wallet to connect your NFT with, at the time of writing, Twitter supports:
- Coinbase Wallet
- Rainbow
- MetaMask
- Ledger Live
- Argent
- Trust Wallet
In this tutorial, we will use MetaMask since it’s one of the most popular and easily-accessible wallets available.
Setting Up MetaMask
The first step is downloading the MetaMask – Blockchain Wallet on your iPhone.
Next, if you already have a MetaMask account on your Desktop or other devices, make sure to import and sync the wallet with your MetaMask app on your iPhone. You could also create a brand new wallet, but it’s much easier to simply import your existing MetaMask account, which we will use to create an NFT.
Creating Your NFT
Next, head over to OpenSea and log in with your MetaMask account. This is best done on a Desktop or Laptop device.
Click the Create NFT button on the homepage, which will open up a form with various fields. Choose an image you’d like to use for your profile on Twitter and add it to the form, provide a name.
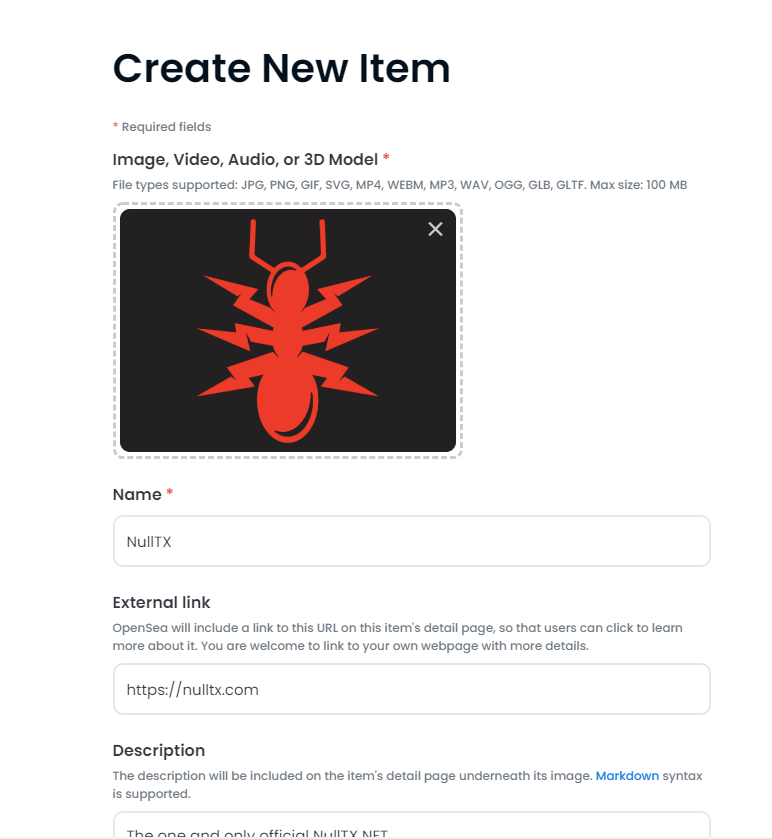
Optionally you can provide an external URL for users to learn more about your NFT, fill in the description, and select a collection for your NFT (optional).
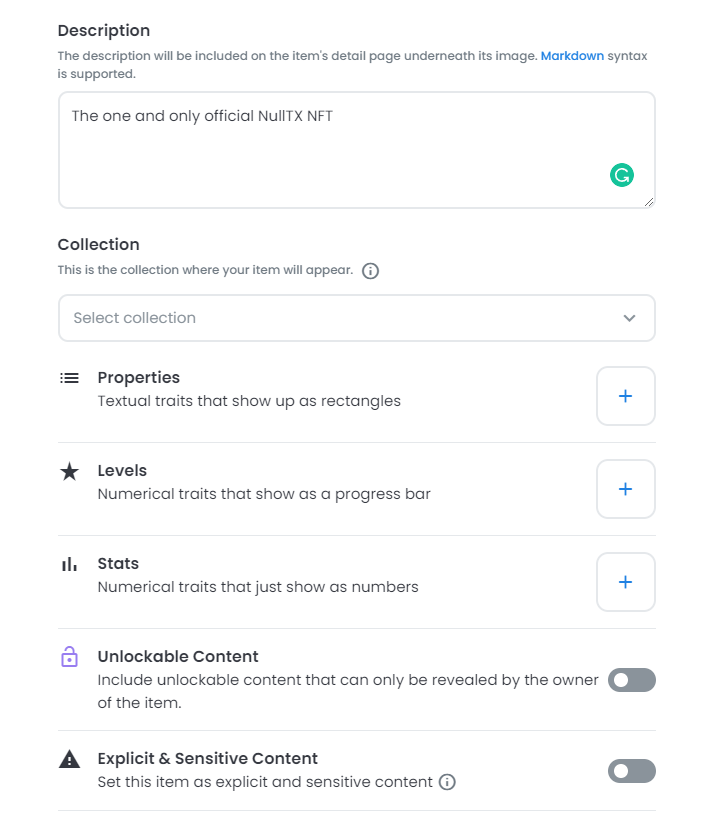
You can also add properties, levels, and stats for your NFT, but for this tutorial, we won’t add any options since we’re just looking to create a simple image NFT for our Twitter profile.
You can also add a max supply of your NFT. For this tutorial, we will leave the default supply at one.
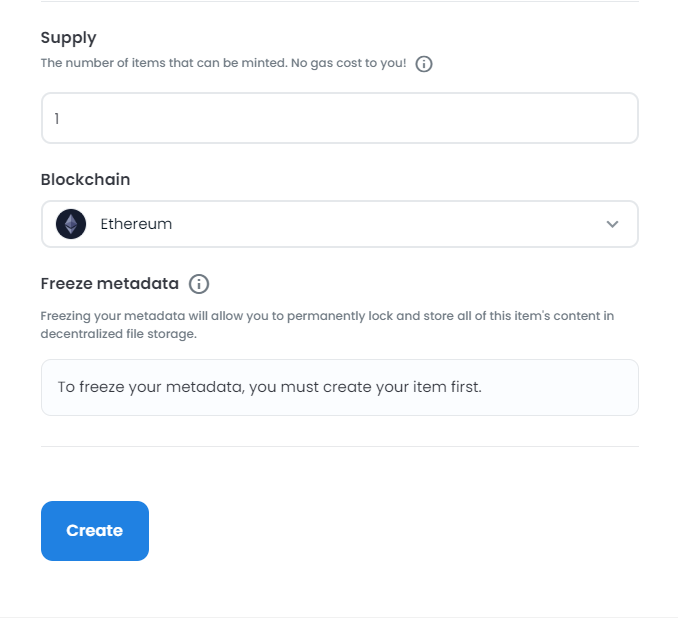
Once the form has been filled out, hit the Create button!
Sponsored Business Content
You might have to complete a Captcha at this point, after which your NFT will be officially created! If this is your first-ever NFT, congratulations!
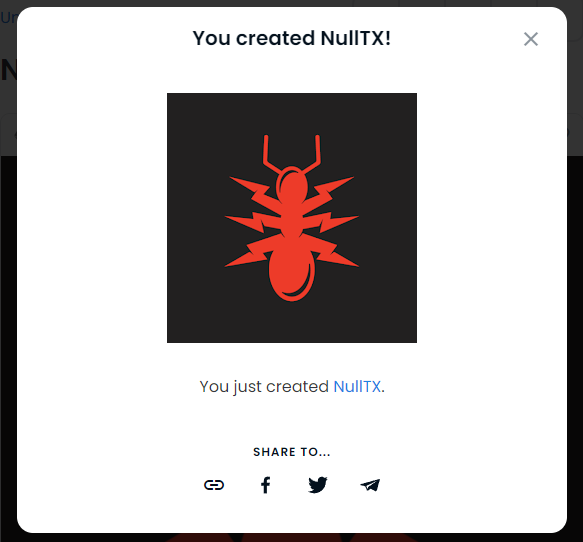
You should now see the NFT in your profile on OpenSea:
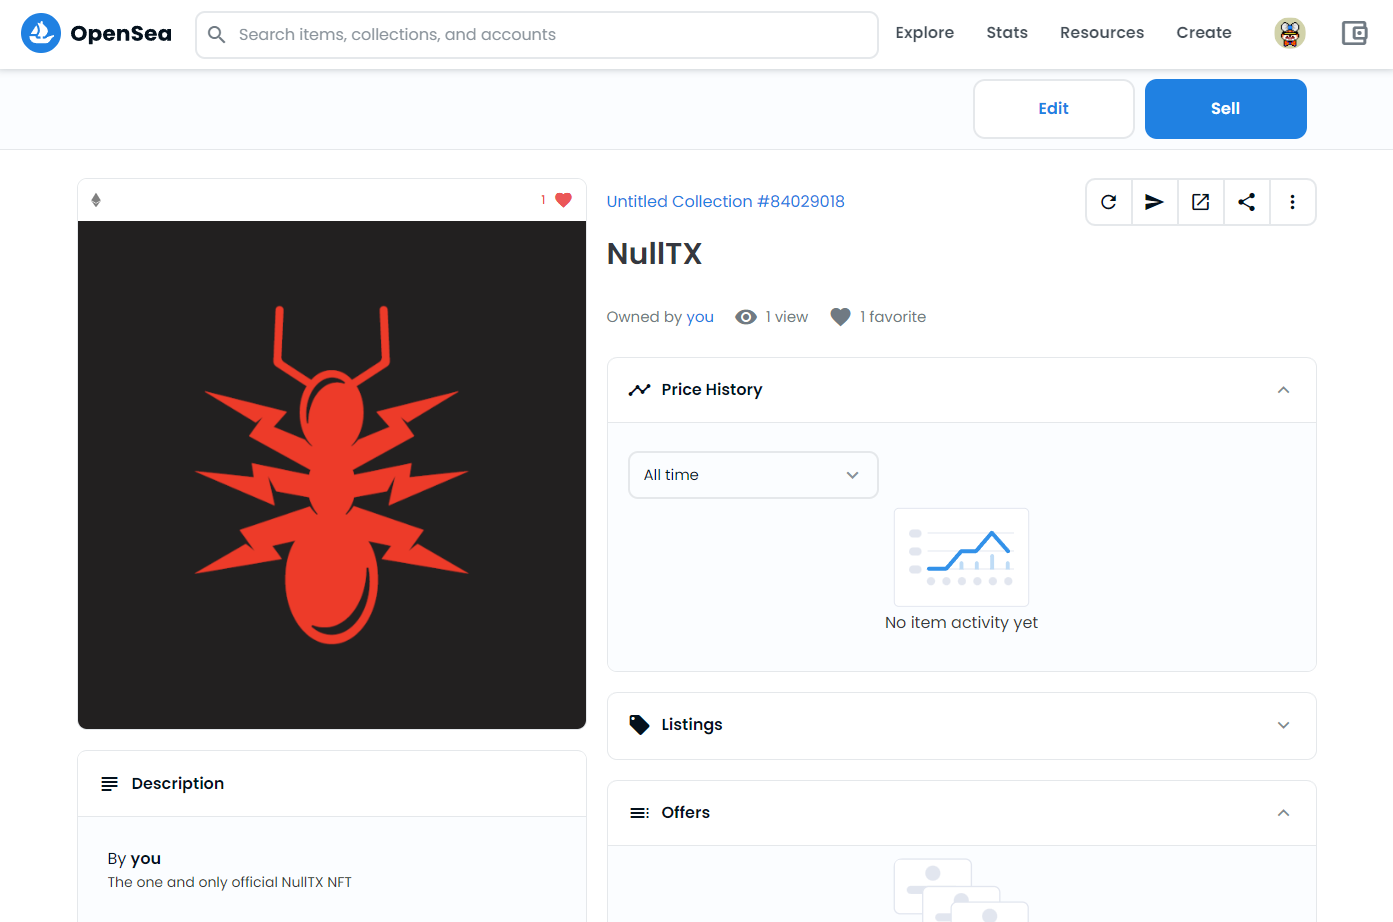
You should now also see your NFT in your MetaMask wallet on your iPhone. If you don’t see the newly created NFT, make sure to turn on NFT detection in settings. You can turn on the OpenSea API, and once you see your NFT, you can turn it off again if you prefer not to have it enabled. You’re good to go as long as the NFT appears in your phone’s MetaMask wallet.
Note: You can also import the NFT manually into your MetaMask wallet if you prefer to take that route.
Transferring the NFT Between Two Accounts
For some reason, Twitter won’t recognize your NFT unless there’s some activity of the digital asset on the blockchain. The cheapest and easiest way is to transfer the NFT between two of your accounts.
You will need to create a second account on MetaMask, transfer the NFT to that account, and then return the NFT to your original MetaMask account. You will have to pay a gas fee, so ensure you have an Ethereum balance on both accounts. At the time of writing this article, the gas fees for ETH were relatively small, amounting to $1-2 per transfer.
Once the back and forth transfer is complete, you should be able to link your NFT via the Twitter app on your phone.
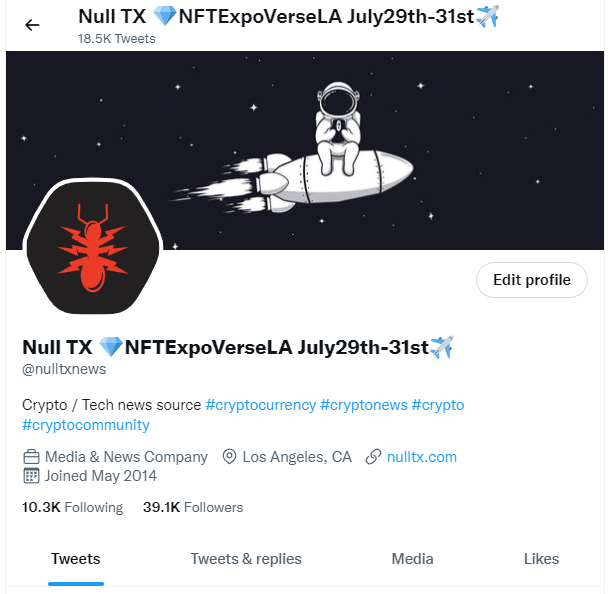
Congratulations, you’ve created your own NFT profile picture for Twitter and can join the hexagon club!
Disclosure: This is not trading or investment advice. Always do your research before buying any cryptocurrency or investing in any project.
Follow us on Twitter @nulltxnews to stay updated with the latest Crypto, NFT, AI, Cybersecurity, Distributed Computing, and Metaverse news!
Image Source: slavstan/123RF
 JinseFinance
 JinseFinance
 JinseFinance
 Huang Bo
 Cheng Yuan
 Beincrypto
 decrypt
 Others
 Cointelegraph
 链向资讯
链向资讯 Ftftx
Ftftx